
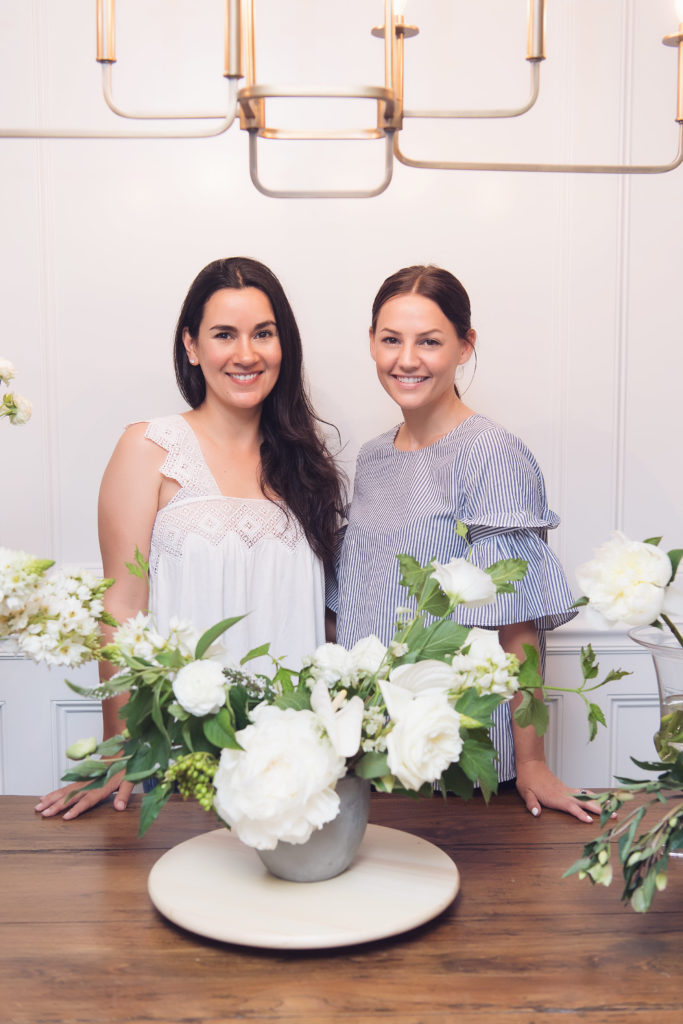
Do you ever see insanely beautiful flower arrangements on Pinterest and Instagram and wish that you could create one yourself? I know I do! There are few things I love more than picking up fresh blooms at the store, but creating an arrangement is not the easiest task. I was thrilled when the extremely talented Maria Maxit of Maxit Flower Design agreed to come over and share her insider secrets with us! I have long admired her ability to turn beautiful blooms into crazy works of art (no doubt you have noticed on the many entertaining features she has collaborated with us on here). Maria has over 13 years of experience in creating florals for weddings and events, and her creations are unbelievable to say the least (don’t miss her Instagram for some major floral inspo!).
I’m sharing Maria’s 8 simple arrangement tips so that you can impress your guest at the next occasion you are hosting or take notes to up your own floral game at home. Read on below!

Step 1: Select the Perfect Stems
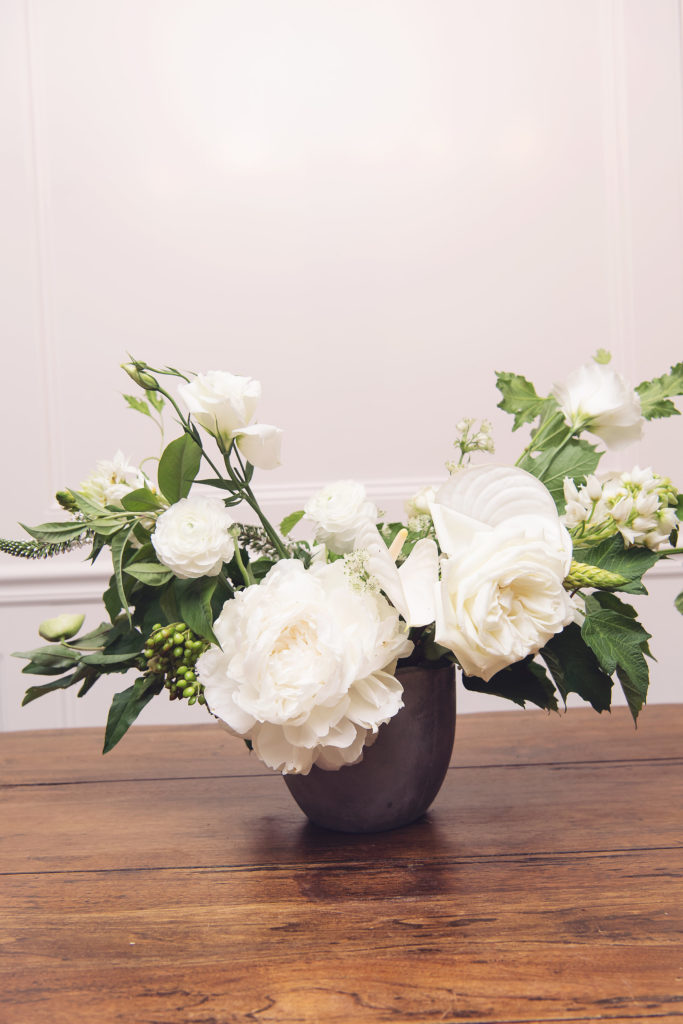
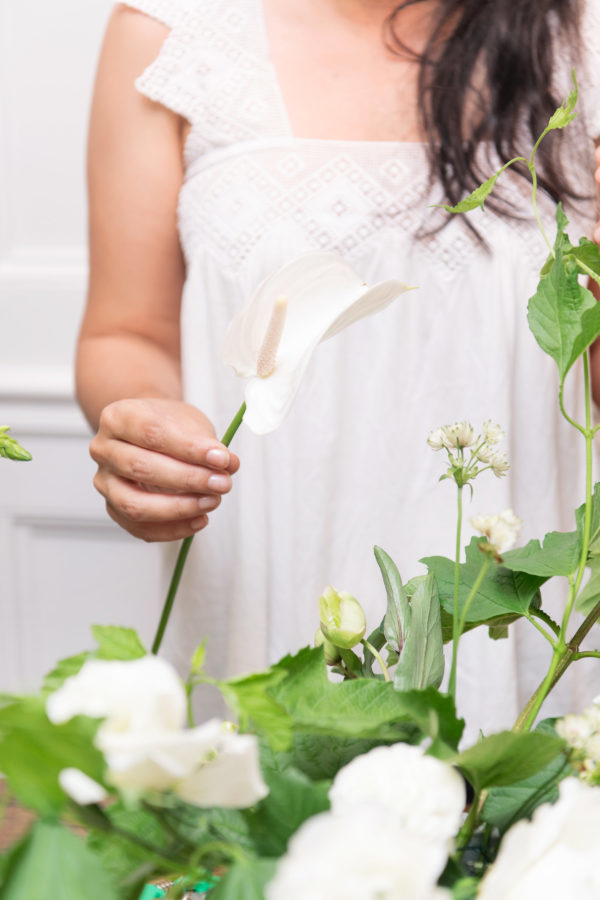
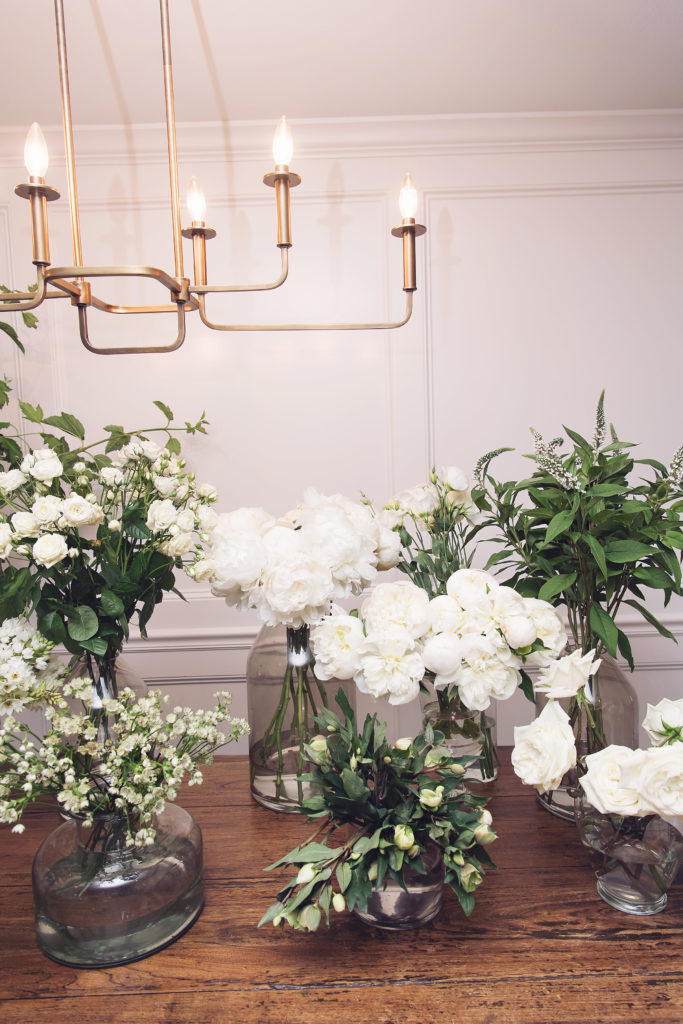
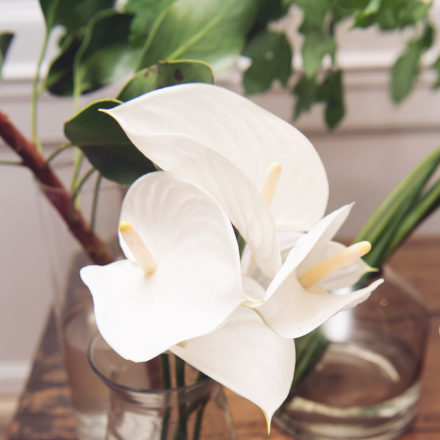
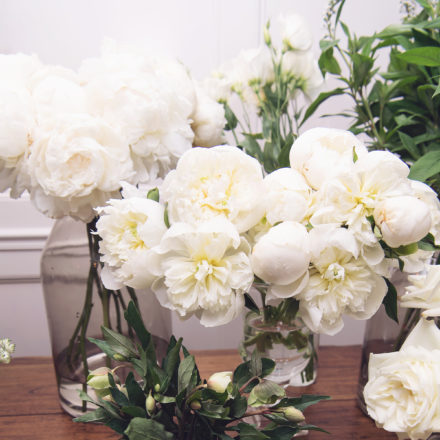
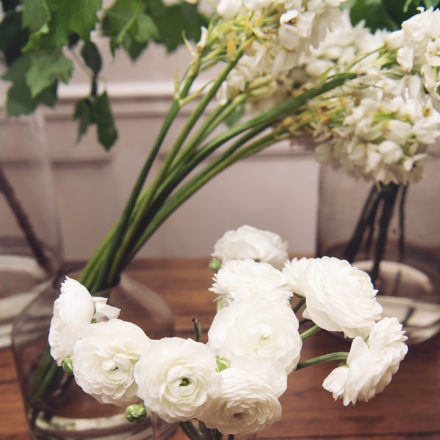
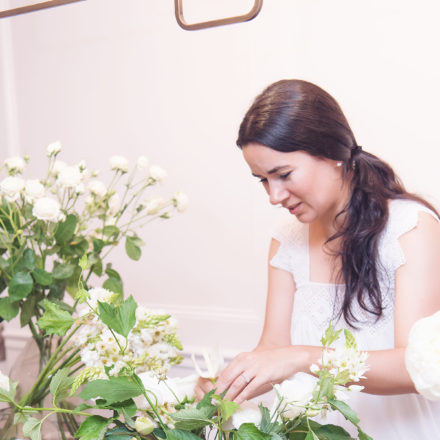
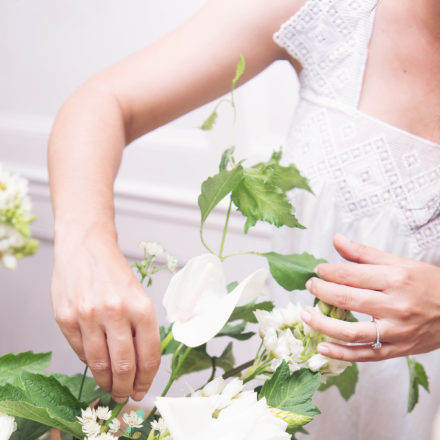
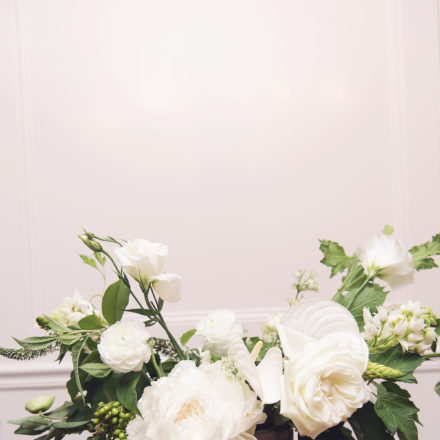
Maria advises starting simple with one color or analogous colors. You can still make the arrangement look unique by incorporating a variation of shapes and textures. For our arrangement, Maria selected a variety of white and green flowers including Anthurium, roses, spray roses, peonies, and Ranunculus. By keeping the color the same, you will notice the subtle differences in petal shape, stem length and texture of the individual flowers. We’re sounding like pros already!
We were fascinated to learn that by grouping flowers together that would normally be found next to one another in nature, it creates an organic and visually pleasing arrangement. This pro hack also keeps arrangements from looking too messy. If you’re like us, you may not know offhand which flowers grow together in nature. However, Maria says it is as simple as looking at what grows in our own backyard. “You’ll see that flowers grow in a natural gradation manner — short, then medium, then taller flowers.” So if we follow grouping the longer stems first and then gradually shorter stems, we’ll be in a good place!
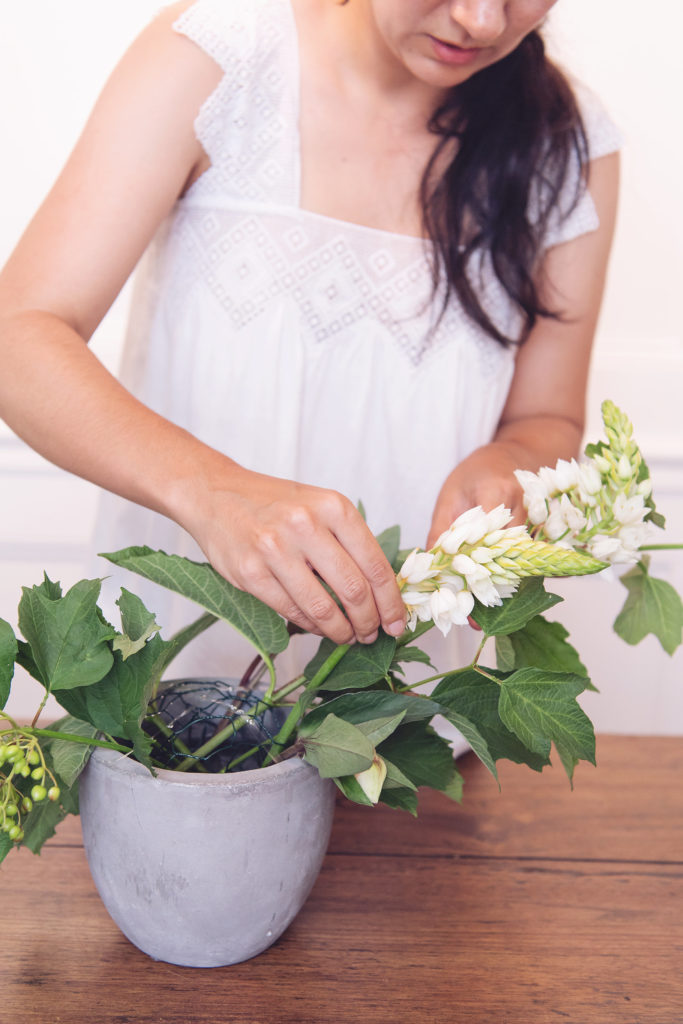
Step 2: Select Your Vase Using the 1/3 – 2/3 Rule
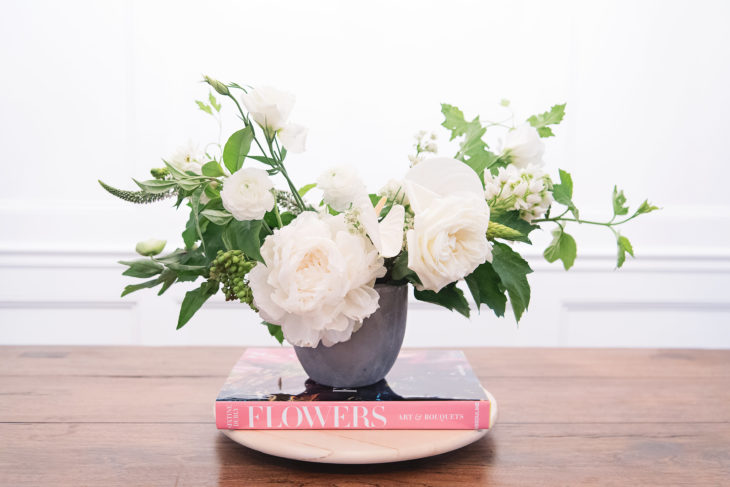
If you’re wondering what type of vase to use, Maria informed us that it should be one third the size of the arrangement (1/3 vase, 2/3 arrangement). Maria emphasized the importance of a good foundation, and a vase is the first step in achieving that. Regardless of the vibe you’re going for with your arrangement, the vessel should compliment it in some way. For our shoot, she chose a rustic-looking vase to compliment the light, whimsical feel of the white roses. She also suggested pulling out your lazy Susan (a rotating serving tray) for easy floral arranging and to check every angle as you go. (Genius!)
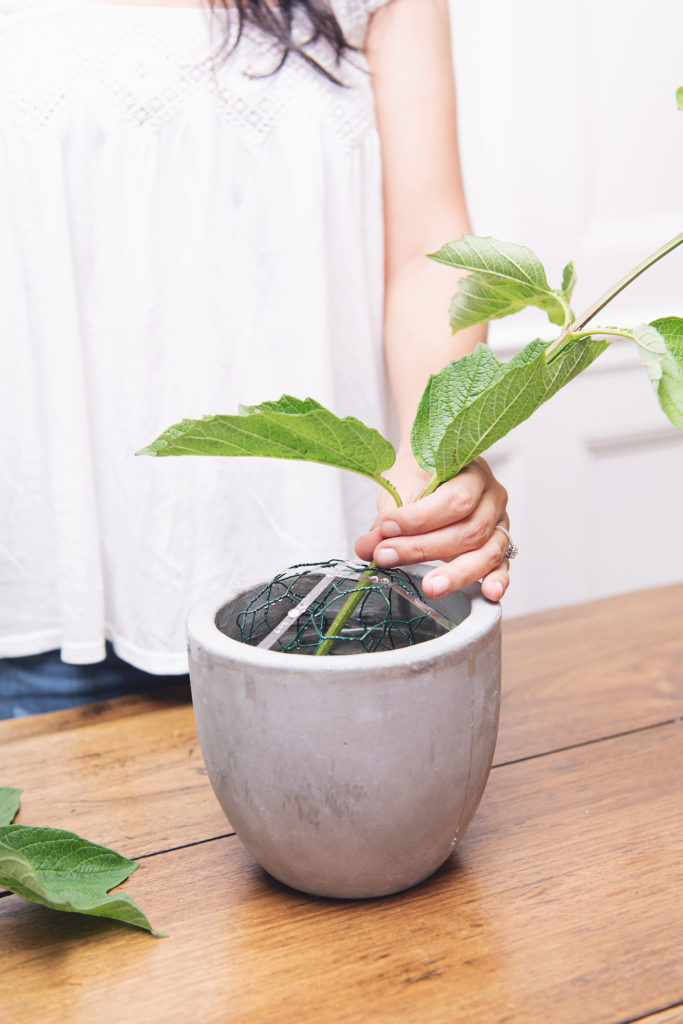
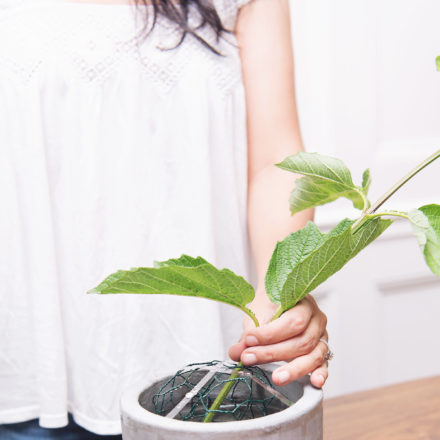
Step 3: Chicken Wire (A Trade Secret)
Maria taught us her trade secret of inserting chicken wire into a vase to create stability and prevent stems from falling over. It’s hard to create a visually pleasing bouquet with droopy flowers, but chicken wire offers a discreet way to keep your flowers in place. Chicken wire can be purchased at places like Home Depot, and then you simply bend it to fit neatly inside your flower vessel. An added bonus, it’s an eco-friendly alternative to foam!
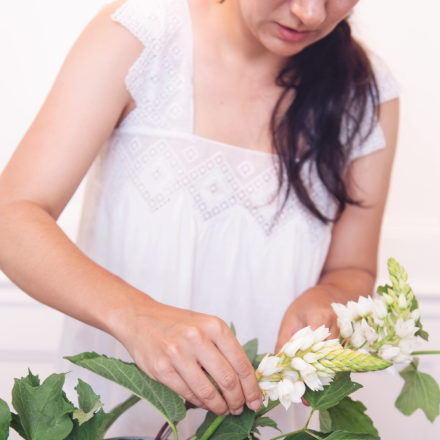
Step 4: Remove the Old
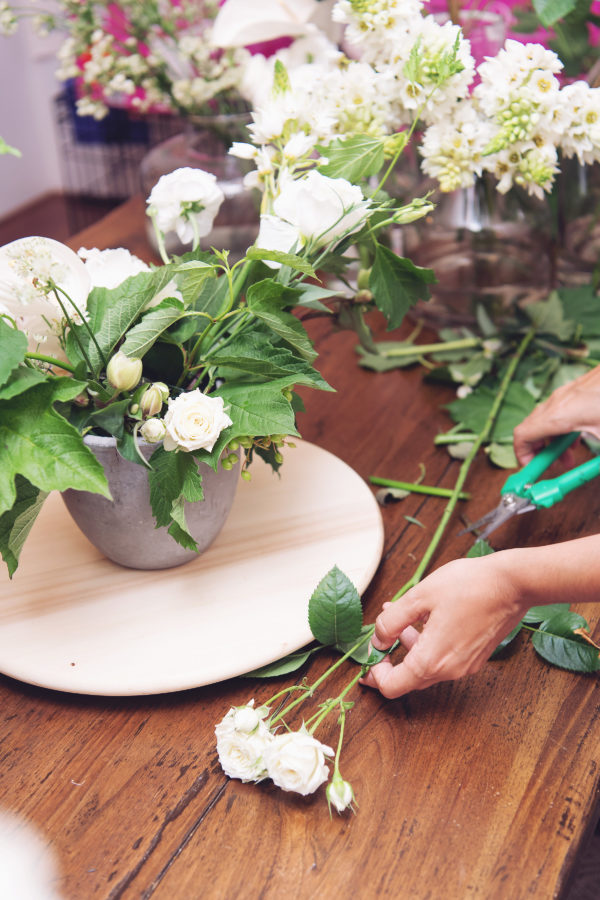
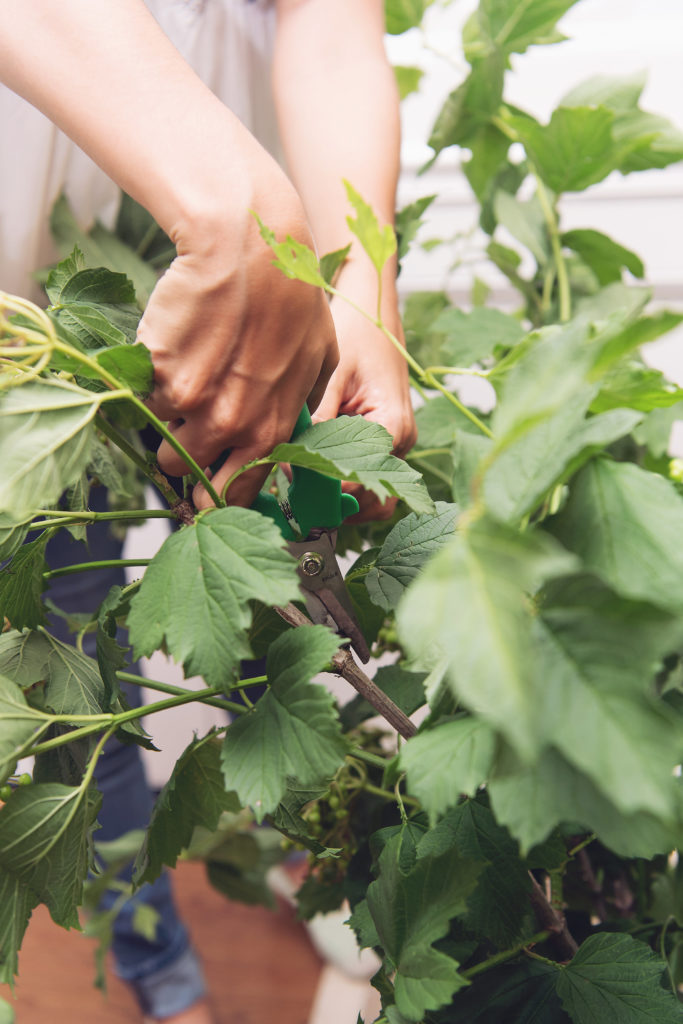
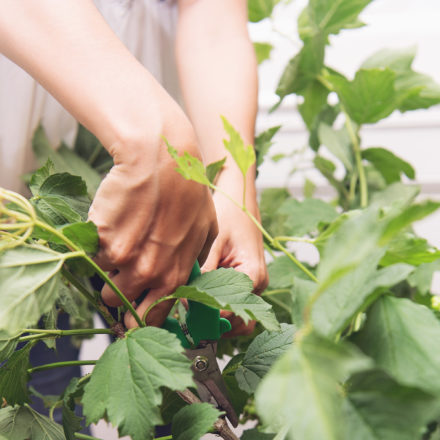
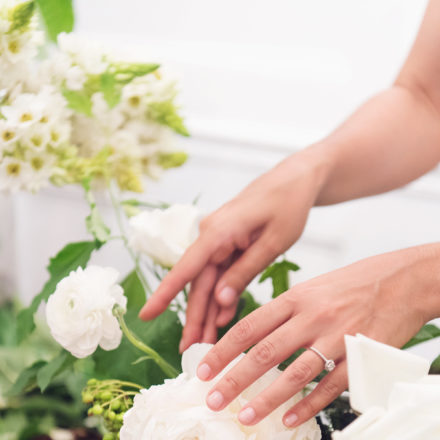
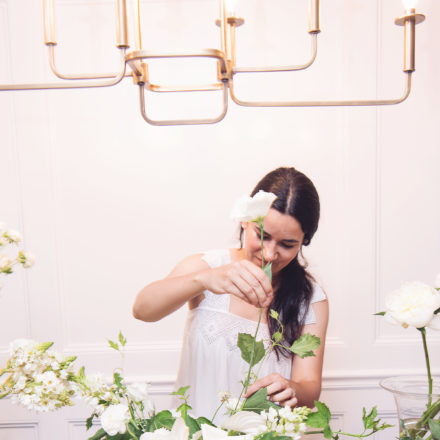
Before placing flowers into the arrangement, clean up each one by removing any dying or older parts. This will keep the flowers looking fresh and allow for them to channel nutrients to the living parts of the plant. It’s discouraging when you start seeing wilted petals just days after displaying your arrangement, so plucking the old petals or leaves from your bouquet will keep the whole thing looking livelier for longer!

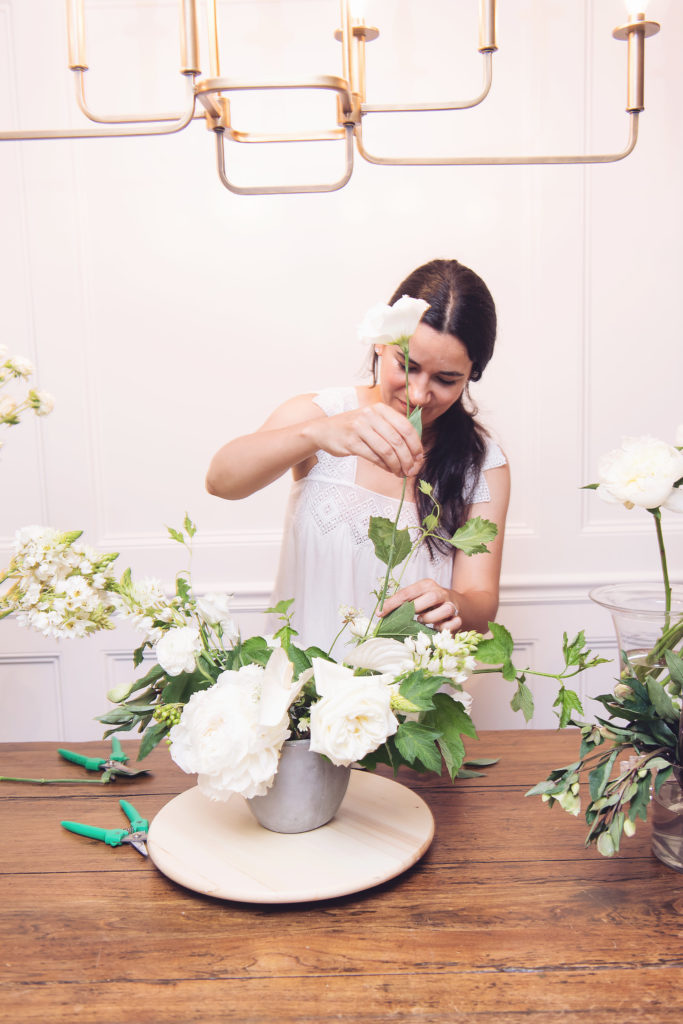
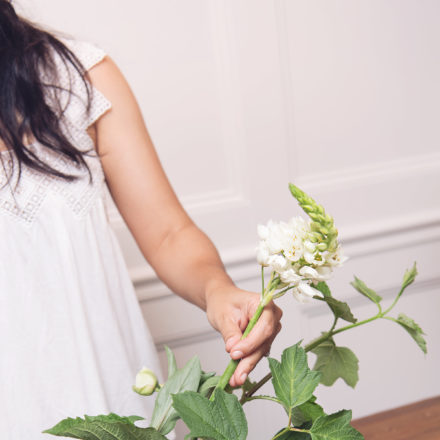
Step 5: Go Long
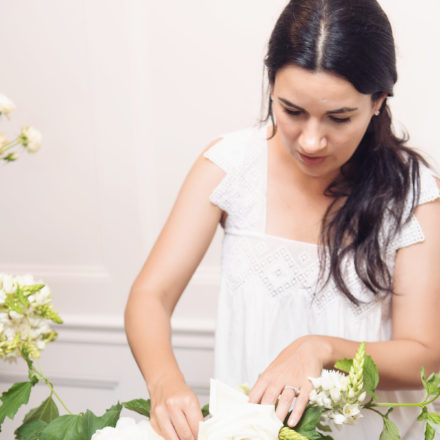
Now that you’ve cleaned up your blooms, it’s time to start arranging! Maria begins her arrangements by placing the longest stem in the vessel first. She then continues by adding gradually shorter greenery along the line of the longest stem until she has a full base and has established the shape and foundation.

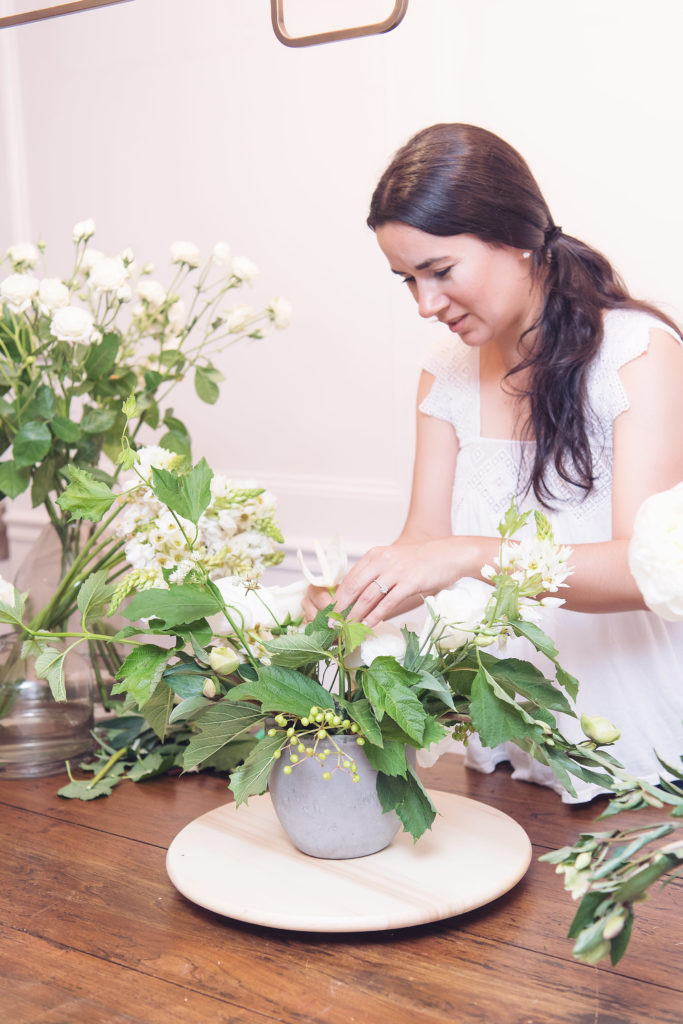
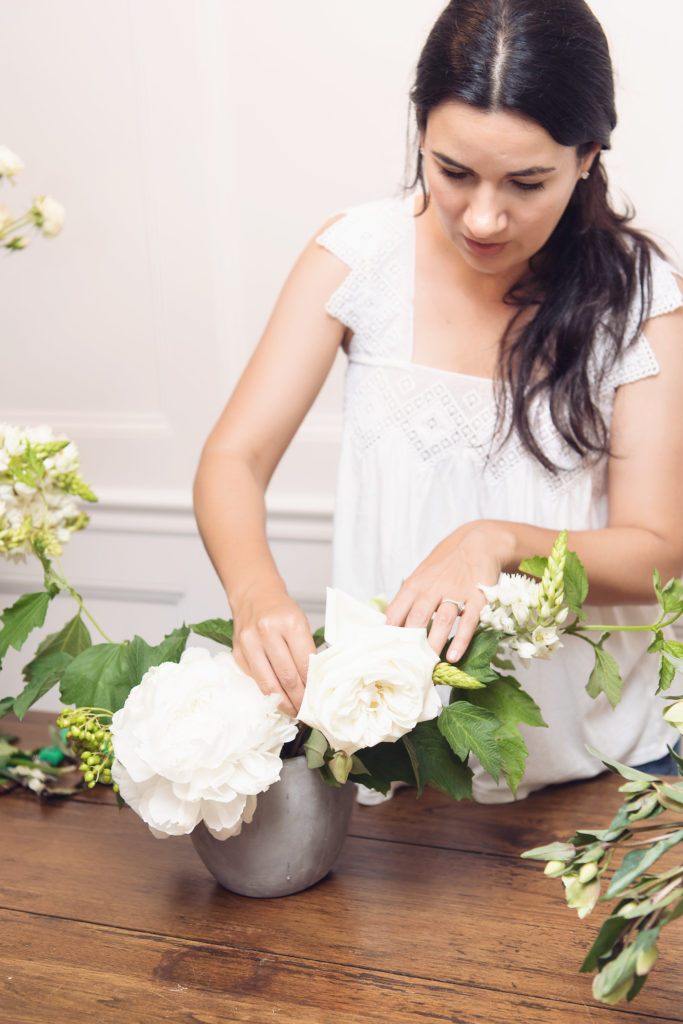
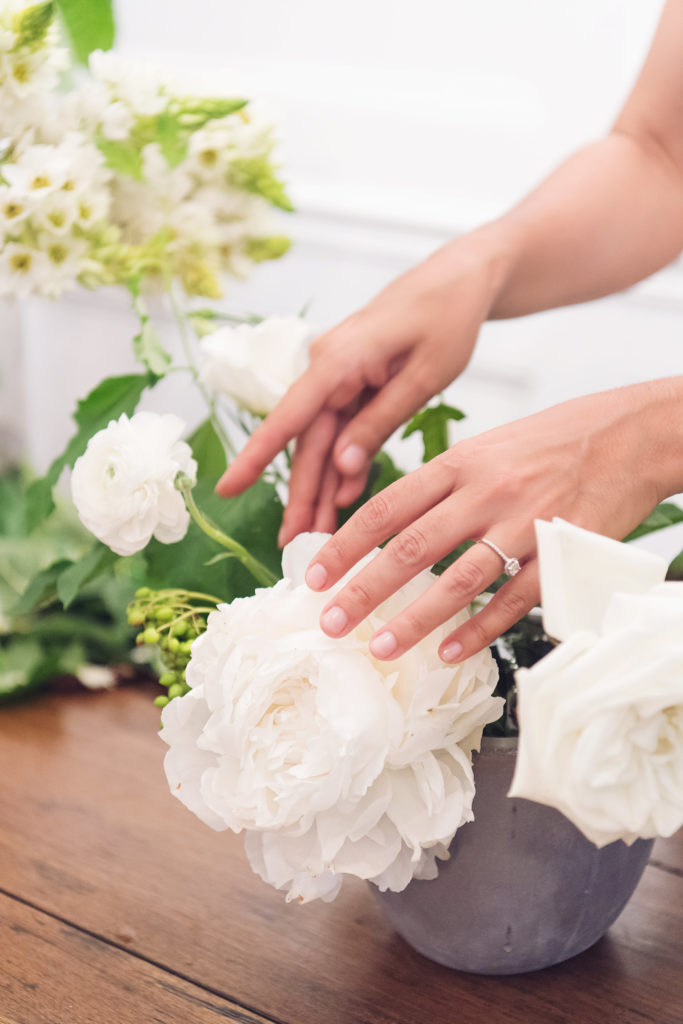
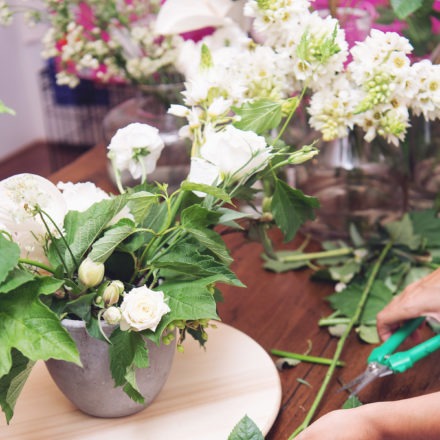
Step 6: Place “Heavy Flowers” at the Vase
We had never thought about flowers as “heavy”, but Maria explained that larger flowers are perceived to have more visual weight to them and should be placed closer to the vase. In this case, a statement peony created a stunning focal point, and lighter flowers extended from there. This follows the natural line of sight and keeps your arrangement looking organic. It also keeps your shape from drooping since the vase can support the weight of your largest flowers.
Step 7: Add the Unexpected
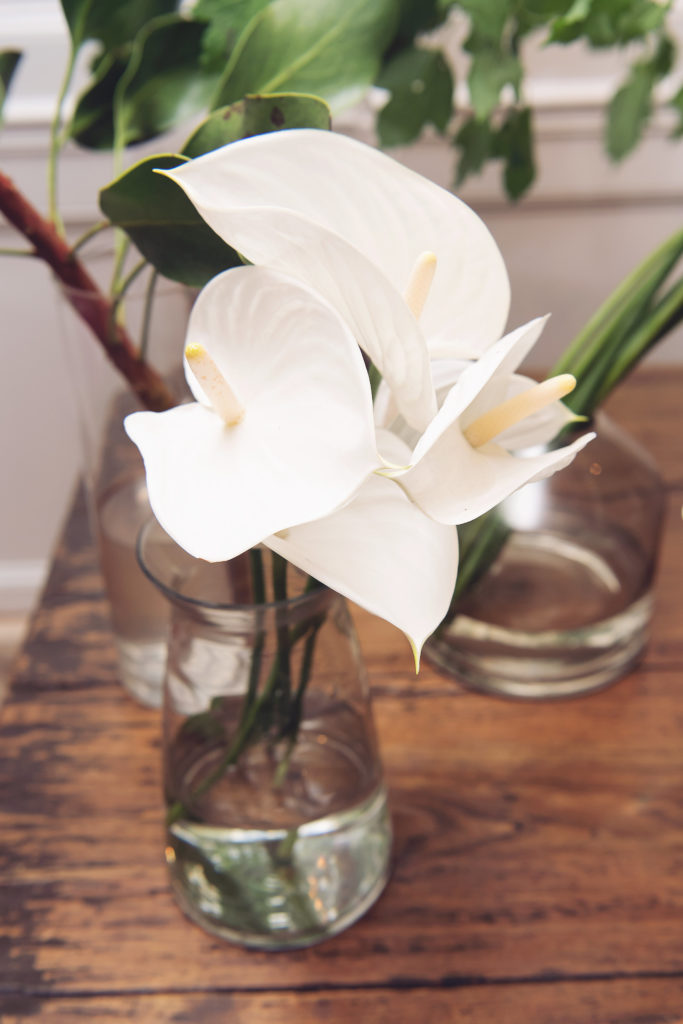
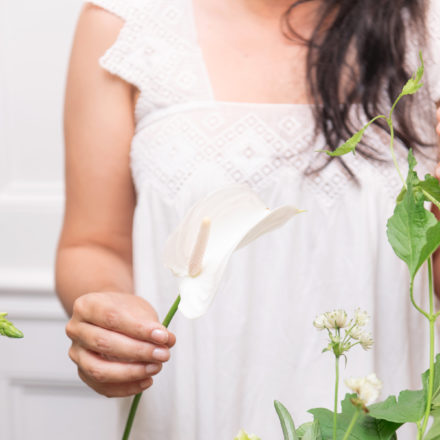
To give your arrangement a little variety and juxtaposition — and to make it more visually interesting — Maria suggests throwing in a few plants that you wouldn’t ordinarily expect to see, like a tropical flower.

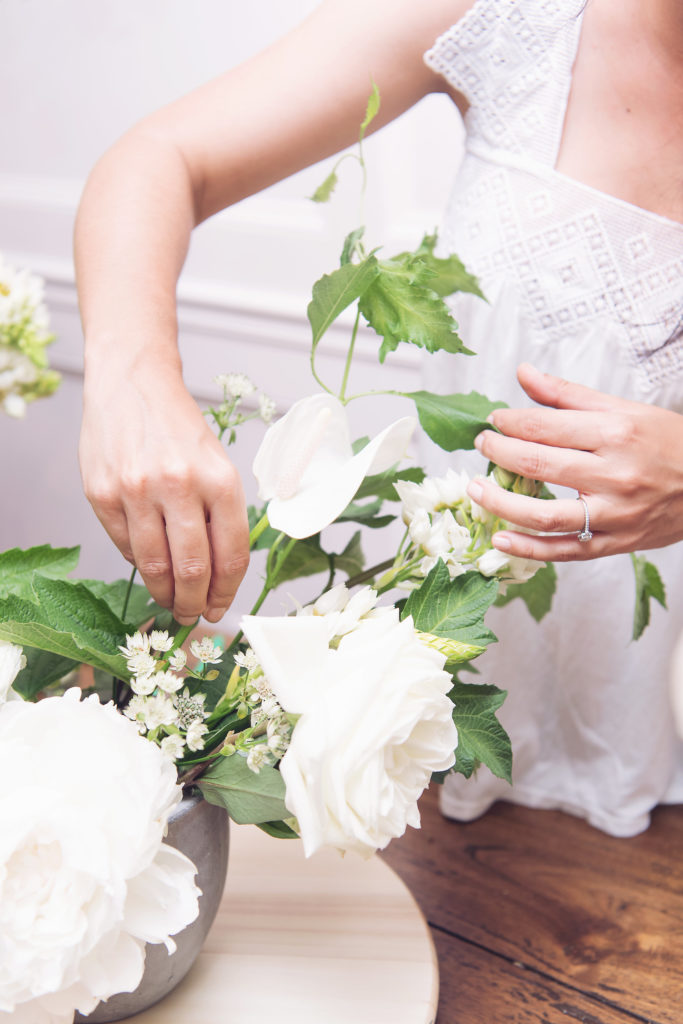
Step 8: Continue To Fill in The Shape
Now that you created the foundation with the original longest stems and worked your way down to the focal point in the center, it’s time to fill in any additional greenery or flowers on each side. Be sure to turn the vase on the Lazy Suzan as you work to ensure the finished product will look stunning from every angle. Now, enjoy!
Do you have any additional questions for Maria? Feel free to leave them in the comments below!


Except that hanging that huge penny on the lip of the vase, makes it look very lazy. You should have that penny slightly above the rim of the vase to look fresh and healthy. You’re correct about larger flowers to the center, but never hanging like that one it makes your whole arrangement look tired.