
Have you heard of microblading? I honestly didn’t know what it was until a few months ago, when my friend Ashley had it done. But once I heard about it, I knew I needed this in my life. As a mom of two young children who works in a business where I share myself with the world on a daily basis, anything that can make my morning routine easier is very appealing to me.
So, yeah… what is microblading?
“Microblading is not a permanent tattoo, it is a semi-permanent technique designed for brows, allowing the beauty of natural brows to be accentuated.” Basically, what I was doing (just not as well) with an eyebrow pencil every morning and washing off every night.
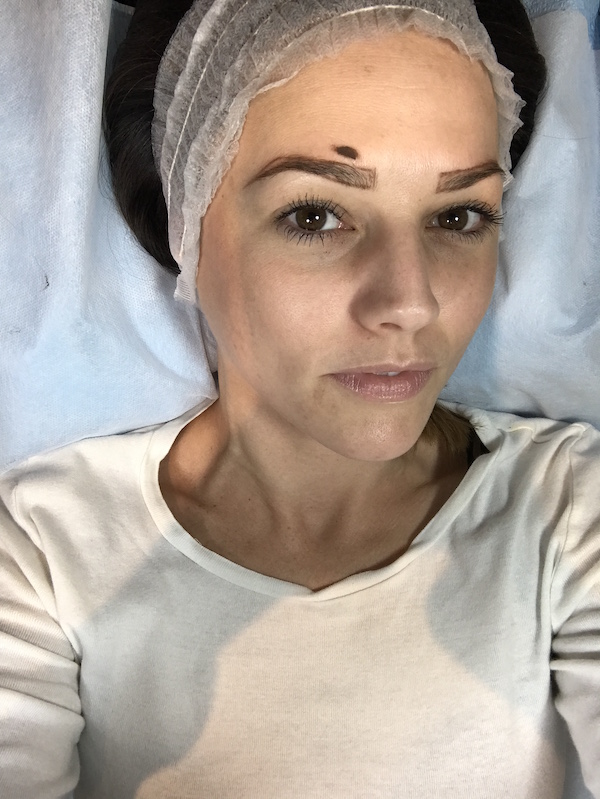
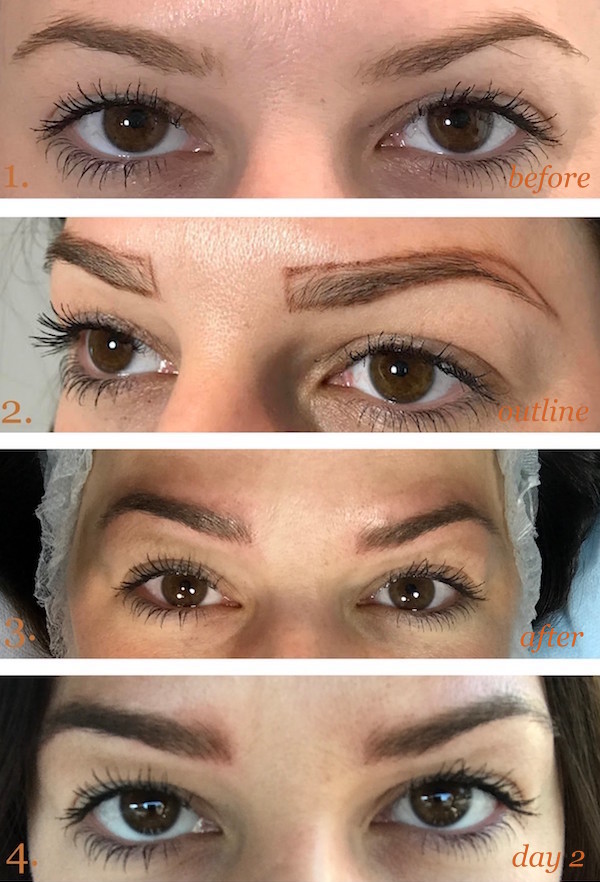
The first step of the process is to have an initial consultation. I met with Theresa and she drew in what she would do with a brow pencil. I had a few tweaks wanting to achieve a straighter, less arched brow. She immediately made a quick adjustment and I loved what she did. Still me, just with better brows! I left so excited, I couldn’t wait to get back to have them done!
The image you see above is the outline she drew on the day of microblading to make sure we were still on the same page before she got started.
Next, she selected a color that best matched my natural eye brow color and I got to approve that, as well, before she did anything (semi) permanent.

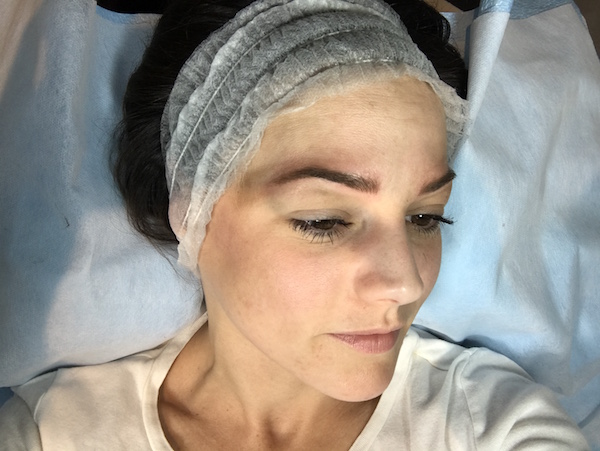
I took this picture while Theresa was drawing in the hair (for lack of better description). I would give the pain level about a 4, pretty close to the same level as threading, if you have ever had that done.
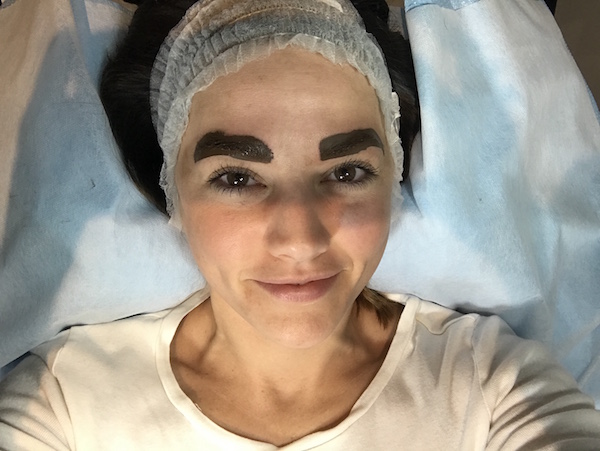
This beautiful picture is the tinting process. After she made all the strokes, she painted my eyebrows like a caterpillar to make sure to get all the color in. Lovely, right? (Don’t worry, she wiped it right off.)
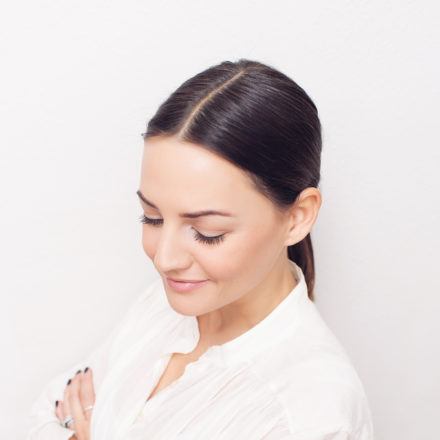
This is what I looked like after she rubbed off the dye. I was amazed at how good they looked, I was expecting to go into hiding when I left, but we could have gone to dinner that night! (We actually did have some friends over for dinner.)
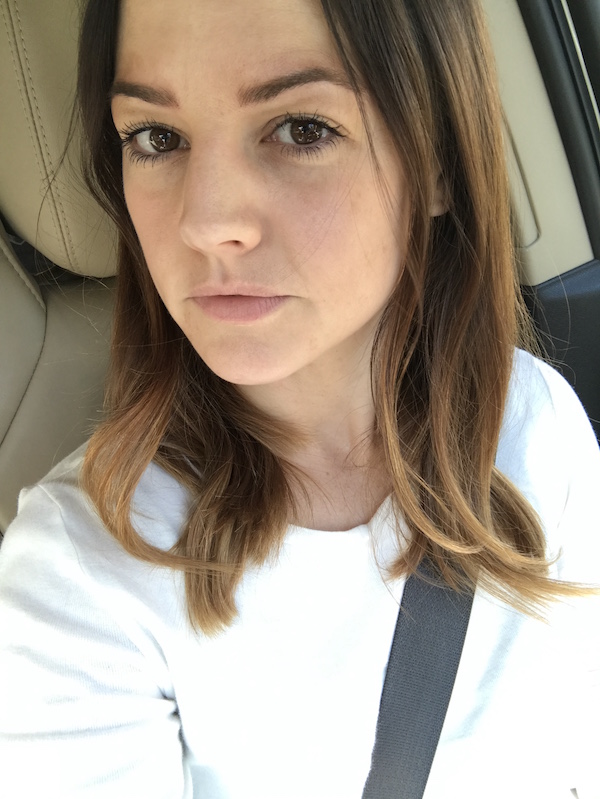
This is the obligatory car selfie leaving Chic Lash Boutique. You can still see some of the dye on my eyelids that needed to be cleaned off, but again, I was surprised at how good they looked immediately after!
The color has gradually faded in some spots after having them done, but you go back at 6 weeks for a touch-up to fill in any faded spots. (I am currently at week two.) For me, I can see the most fading on either end of the eye brow. There will be a few spots to touch up, but they have you wait the six weeks because they say the lines can reappear in that timeframe. (Kinda crazy!)
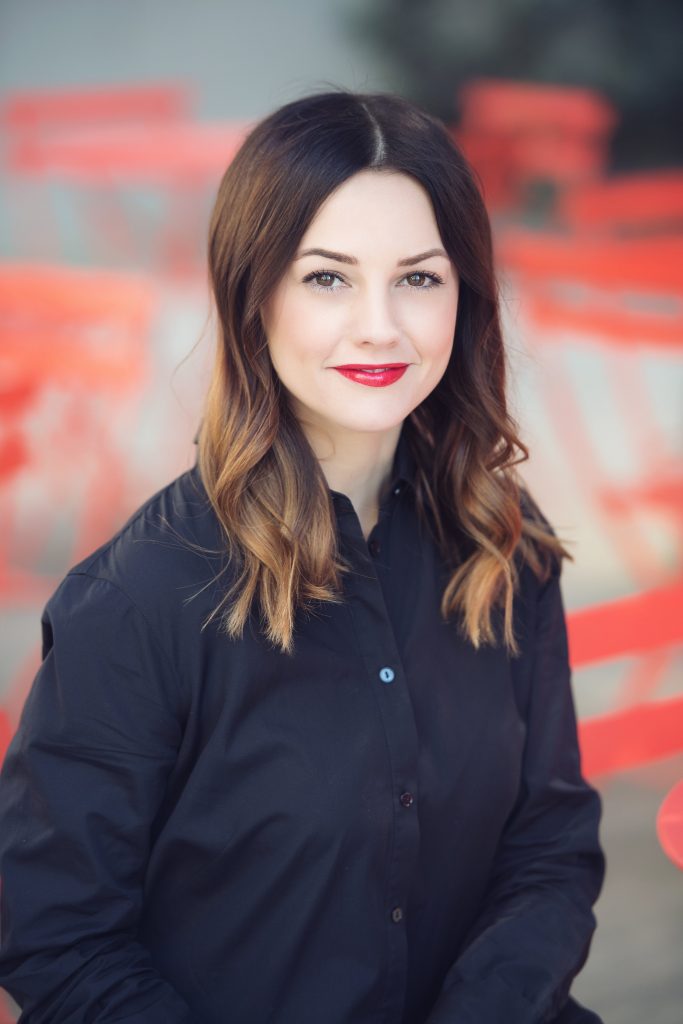
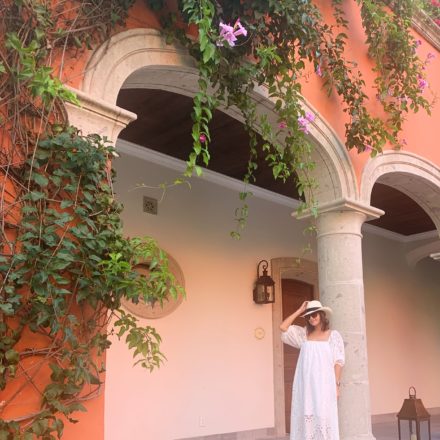
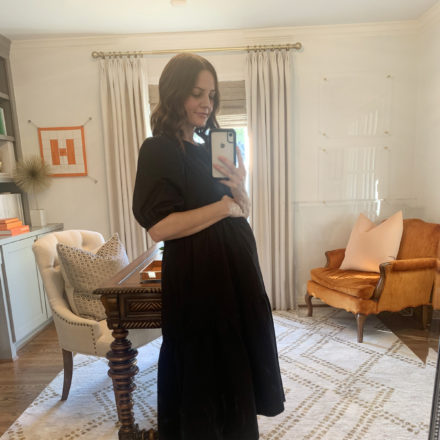
Overall, I am so glad I did this! I was in and out of the procedure in under two hours and the pain really wasn’t that bad! I feel so much more confident now on no-makeup days having full, symmetrical eyebrows! The image at the top of the post was taken the day after I had it done. It was my weekly blog post shoot with Kate and she was like, “You look so pretty, I feel like we should shoot an updated headshot on these orange chairs.”, I credit my new brows. ha!
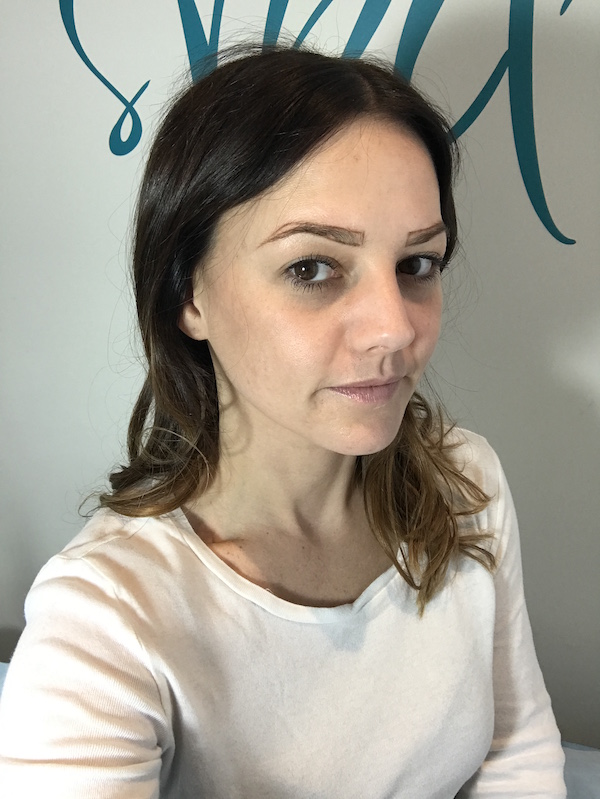
P.S. Kinda crazy to see my iPhone pictures with no make-up on right next to a professionally edited headshot image (obviously wearing make-up). For anybody who ever reads blogs or looks at magazines feeling inadequate, here is a little reality check for you. Ha!
I am happy to answer any questions I didn’t cover in the comment section below, ask away!
*And a huge thank you to Chic Lash Boutique for providing this service and making my morning routine that much easier! All thoughts and opinions are my own, as always. xo


I need this!
I’ve been curious about this procedure, so thank you for sharing your experience!
xo, Nicole @ http://simply-nicole.com
I got this done on Tuesday and love them! I’m excited to see how they look after 6 weeks. I hope you do an update on yours as well! Love the way yours turned out! Eyebrows on fleek 😁
xo,
Heather
playingdressupallday.com
I will definitely update after my touch-ups! xo
Great post! And your eyebrows look fab! Question, I know you have two small kiddos are you still nursing? I have heard mixed reports about doing microblading while nursing. I know some have done it since the risk is apparently very low but I guess some places refuse to do it to any nursing mamas, would love to know if your boutique had any rules and if so why? Thanks in advance 🙂
Hi Kasia,
I believe they will not do it if you are nursing, but you would have to speak with your Dr. / salon. Andrew is 15 months old and I am no longer nursing. 😉
xo,
C
I got mine done at the same place after I saw your post. I’d say 80-90% of my color is gone. How has your lasted? I don’t know if I want to spend the money on the touch up.
what location does theresa work at?